
Table of Contents and Anchor Text Guide
- What Is the Quickest Way to Prime a Vape Coil? (Featured Snippet)
- Why Must You Prime a Replacement Coil Before Vaping?
- The Science of Capillary Action in Vape Cotton
- What Happens If You Press the Fire Button Without Priming?
- How Exactly Do You Prime a Sub-Ohm Tank Coil?
- Where Should You Apply E-Liquid on the Coil Head?
- How Long Should You Wait After Filling the Tank?
- Is Priming a Pod System Different From a Standard Tank?
- Steps to Prepare a New Refillable Pod
- How Do You Prime a Mesh Coil vs. a Standard Wire Coil?
- What Are “Dry Pulls” and Why Are They Essential?
- How Can You Break In a New Coil Using Variable Wattage?
- The “Stepping Up” Wattage Technique
- Which E-Liquid Ratios Work Best for Fast Priming?
- How Can You Tell If Your Coil Is Fully Primed?
- What Should You Do If Your New Coil Still Tastes Burnt?
- Expert Tips to Extend the Lifespan of Your Coils
- Frequently Asked Questions (FAQ) About Coil Preparation
What Is the Quickest Way to Prime a Vape Coil?
To properly prime a new vape coil before pressing the fire button, you must manually saturate the exposed wicking material with e-liquid. Start by applying 3 to 5 drops of vape juice directly onto the top center of the cotton inside the coil head. Next, apply a single drop to each of the side wicking ports. Install the coil into your tank, fill the tank completely, and let it sit undisturbed for 10 to 15 minutes. Finally, take a few “dry pulls” (inhaling without activating the battery) to draw the liquid fully into the center of the coil before vaping at a low wattage.
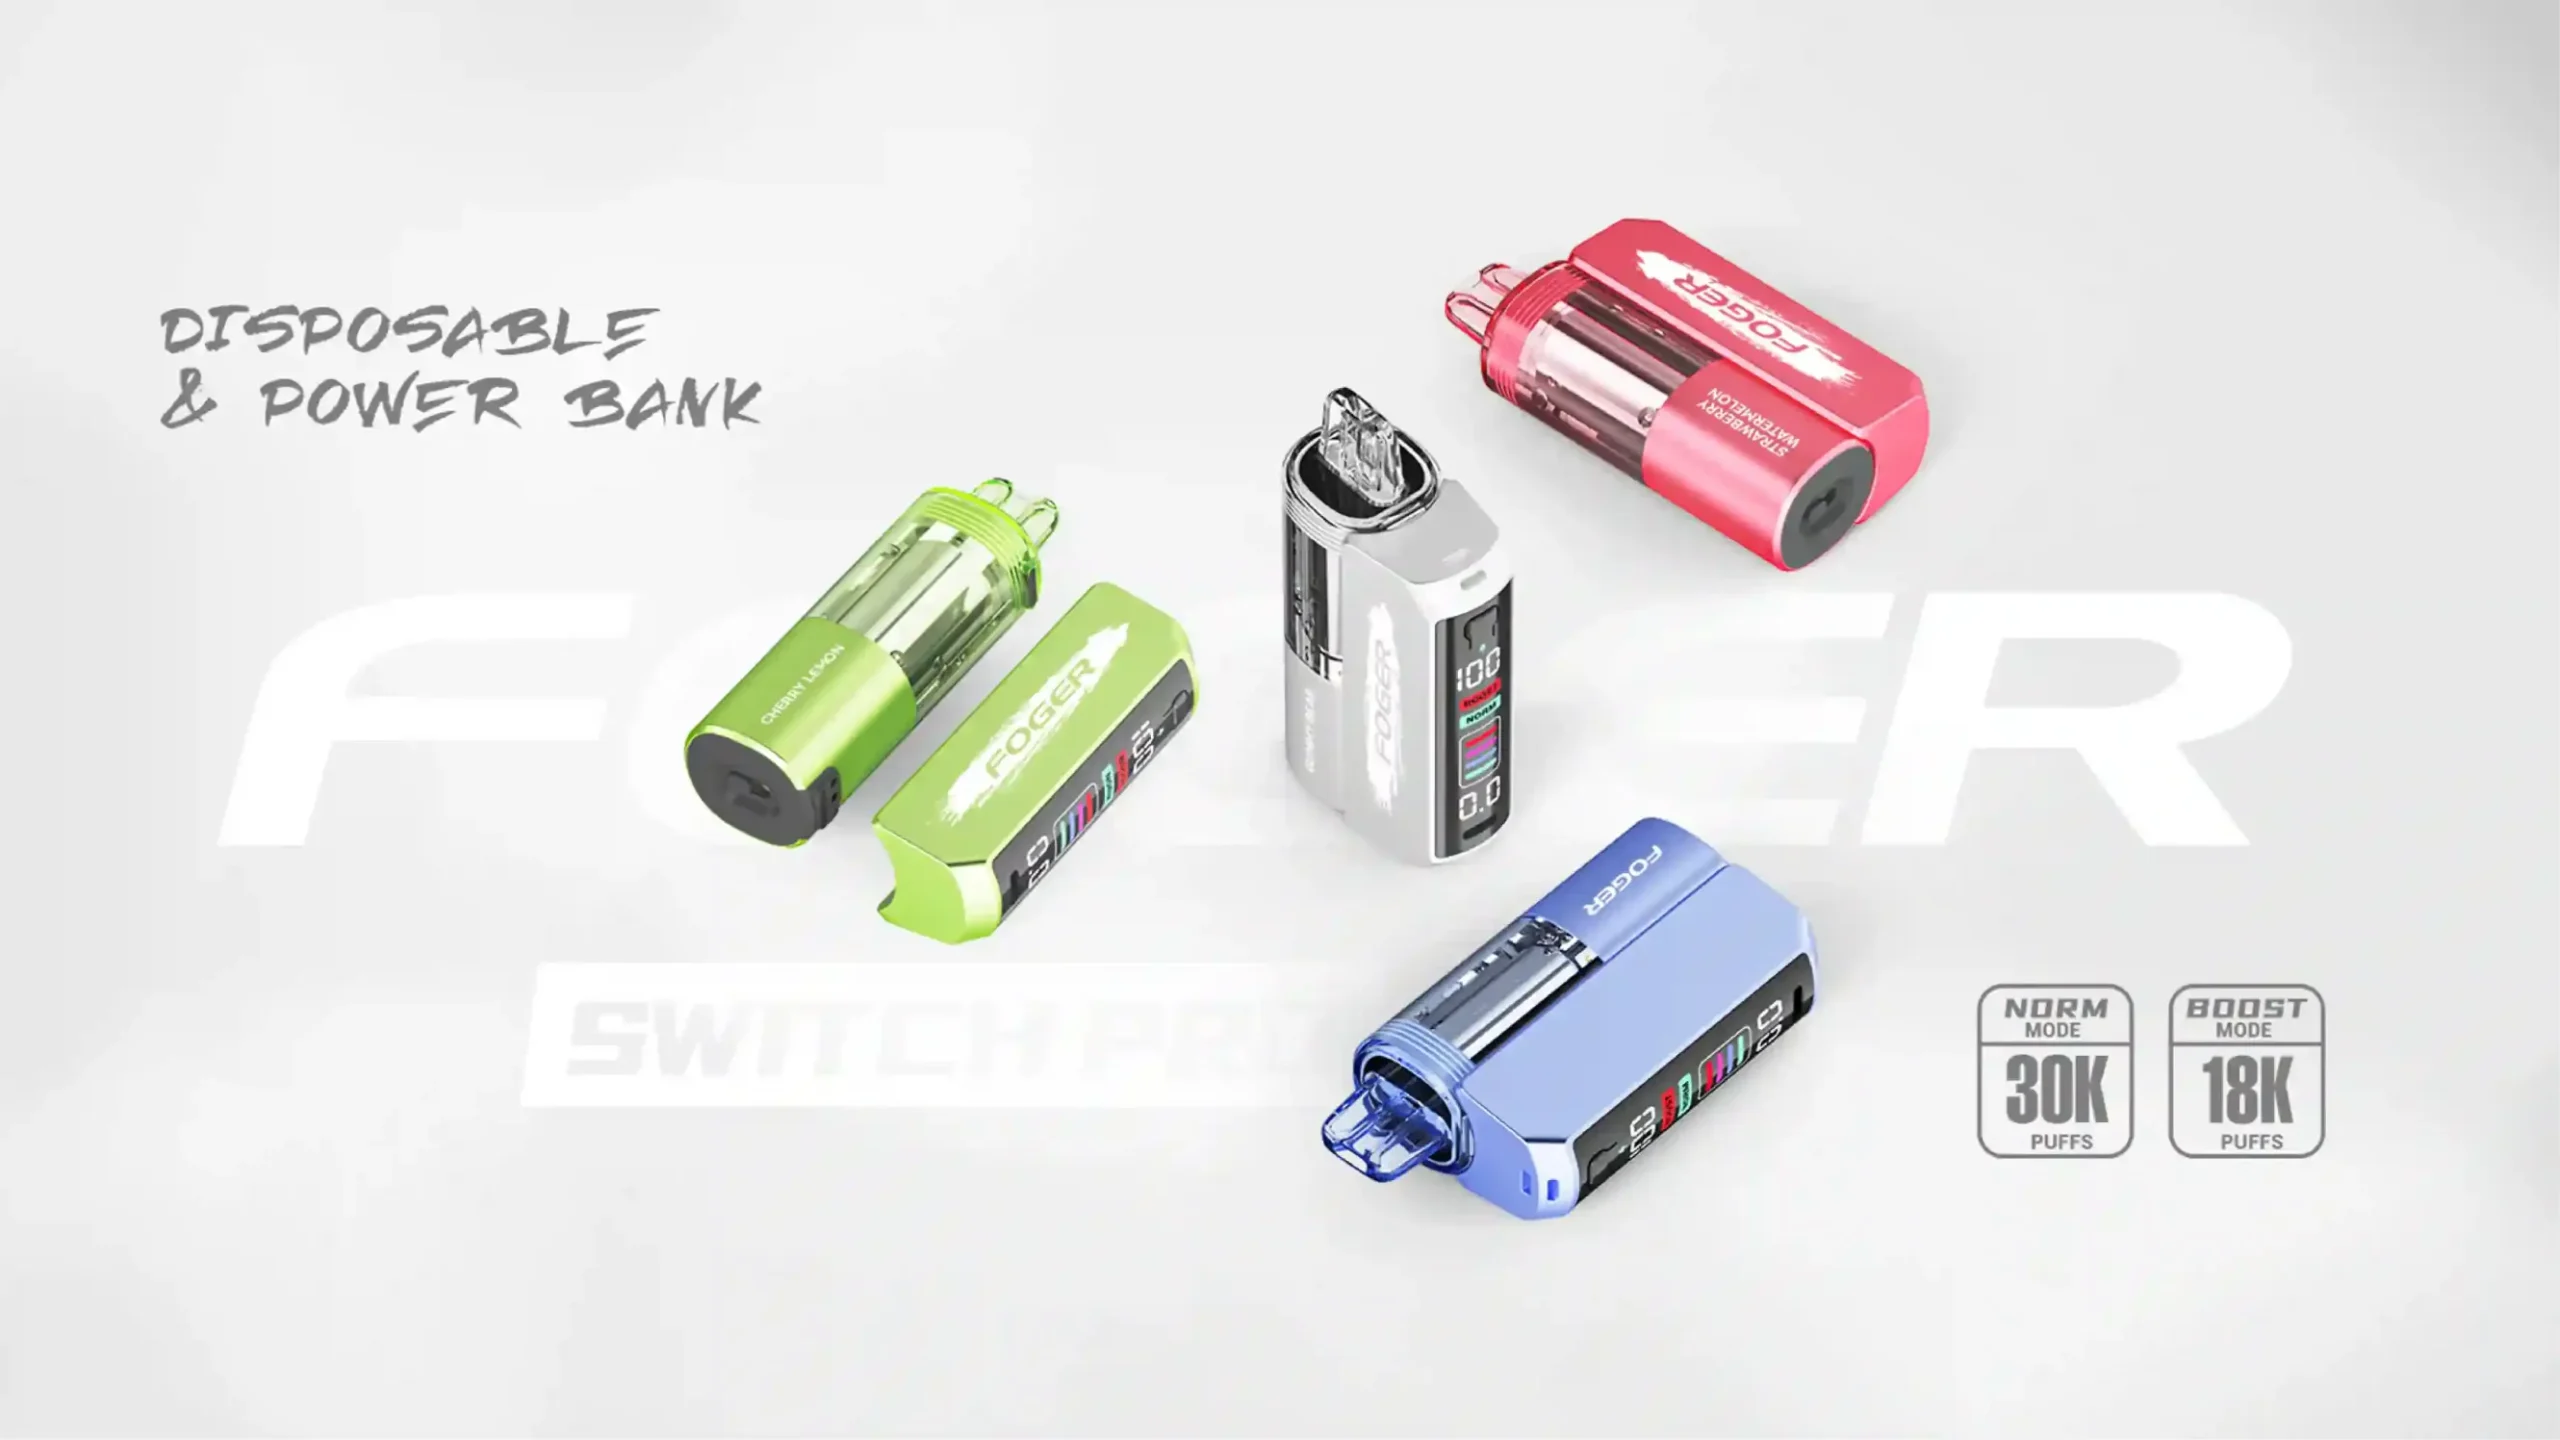
As the hardware specialists at Vaperoster, we see countless vapers ruin brand-new hardware simply because they rush the setup process. Taking an extra ten minutes to prepare your hardware ensures optimal flavor, thicker vapor production, and a lifespan that lasts weeks rather than days.
Why Must You Prime a Replacement Coil Before Vaping?
Modern e-cigarettes operate using a simple heating element wrapped around an absorbent wicking material, typically Japanese organic cotton. When you buy a fresh replacement head, that cotton is bone dry. If you assemble the device, fill the tank, and immediately hit the fire button, the metal wire heats up to over 400°F in less than a second. Because there is no liquid to vaporize and cool the wire down, the metal directly torches the dry cotton.
Once cotton is burned, there is no way to reverse the damage. You cannot wash it out, and the burnt taste will linger permanently, forcing you to throw away a perfectly good, unused piece of hardware. Priming is the manual process of forcing liquid into that dense cotton before the battery ever sends power to the device.
The Science of Capillary Action in Vape Cotton
Vape juice moves from the glass reservoir into the center of your heating element through a process called capillary action. The cotton fibers act like microscopic straws, drawing the liquid inward against gravity. However, standard vegetable glycerin (VG) used in vape juice is highly viscous—it resembles thick syrup. It takes time for this thick liquid to penetrate the densely packed layers of organic cotton. Priming kickstarts this capillary action, creating a wet pathway for the juice in the tank to follow.
What Happens If You Press the Fire Button Without Priming?
Skipping this vital step results in a phenomenon the vaping community calls a “dry hit.” It is arguably the most unpleasant experience a vaper can have. A dry hit produces a harsh, acrid cloud of actual smoke (from combusting cotton) rather than vapor. It causes severe coughing, leaves a terrible taste in your mouth for hours, and immediately destroys the structural integrity of the wicking material. Furthermore, the extreme dry heat can warp the internal metal mesh, leading to immediate leaking issues.
How Exactly Do You Prime a Sub-Ohm Tank Coil?
Sub-ohm tanks require the most attention during the setup phase because they utilize massive heating elements and operate at high temperatures. Follow these specific steps to ensure your hardware is ready for use:
- Remove the coil from the packaging: Hold it by the metal base, avoiding touching the exposed white cotton with dirty fingers, as oil from your skin can alter the flavor.
- Saturate the top opening: Look down the center cylinder. You will see the metal wire and the cotton wrapped around it. Carefully drip e-liquid directly onto this inner cotton. Rotate the coil to ensure the liquid hits the cotton evenly, rather than pouring straight down the middle air hole.
- Paint the side ports: Check the outside perimeter of the metal casing for the exposed wicking ports (usually oval-shaped cutouts). Place a single drop of juice on each exposed piece of cotton. Watch the liquid absorb; if it absorbs instantly, apply one more drop.
- Assemble and fill: Screw the prepared atomizer tightly into the base of your tank, assemble the glass, and fill the reservoir to the top fill line.
- Perform the waiting period: Set the device upright on a table. Do not lay it on its side, as gravity helps push the juice downward into the wicking ports.
Where Should You Apply E-Liquid on the Coil Head?
Precision matters. You want to aim exclusively for the white wicking material. If you accidentally dump e-liquid directly down the hollow center shaft, it will bypass the cotton entirely and pool in the base of your airflow control ring. This results in severe leaking and a gurgling sound when you eventually take a puff. Keep your dropper bottle angled and gently paint the juice onto the absorbent surfaces only.
How Long Should You Wait After Filling the Tank?
The golden rule at Vaperoster is a strict minimum of 10 minutes. However, the exact time depends on the physical size of the atomizer. Massive cloud-chasing tanks may require up to 20 minutes for the thick juice to penetrate the inner layers. If you are in a cold environment, the liquid becomes even thicker, so adding an extra five minutes to your waiting time is highly recommended.
Is Priming a Pod System Different From a Standard Tank?
Yes. Pod systems (like the popular devices we carry at Vaperoster) generally feature built-in coils that you cannot access manually. Because you cannot drip liquid directly onto the top or sides of the internal cotton, the process relies entirely on passive absorption and a few manual techniques to speed up the process.
Steps to Prepare a New Refillable Pod
- Remove the silicone stopper and fill the pod completely with nic-salt or freebase e-liquid.
- Re-insert the silicone stopper firmly to re-establish the internal vacuum seal.
- Tap the pod gently against your knuckles. This dislodges any trapped air bubbles clinging to the internal wicking ports, allowing liquid to flow in.
- Let the pod sit completely detached from the battery for 10 to 15 minutes.
How Do You Prime a Mesh Coil vs. a Standard Wire Coil?
The industry has largely shifted from traditional wrapped wire to mesh technology. Mesh consists of a perforated metal sheet that covers a significantly larger surface area of cotton. While this provides incredible flavor, it makes priming much more critical. A dry hit on a traditional wire affects a tiny strip of cotton. A dry hit on a mesh sheet burns the entire circumference of the cotton instantly.
| Feature | Mesh Coils | Standard Wire Coils |
|---|---|---|
| Surface Area | Massive; covers the entire inside wall of the cotton. | Small; localized to a few wraps of wire. |
| Juice Consumption | High; vaporizes liquid incredibly fast. | Moderate; slower vaporization rate. |
| Priming Sensitivity | Extremely sensitive. Must be 100% saturated to avoid burning. | Forgiving. Minor dry spots might just taste slightly muted. |
| Break-in Time | Instant. Tastes great on the very first puff if primed correctly. | Requires half a tank to shed the “new cotton” taste. |
What Are “Primer Puffs” and Why Are They Crucial?
Also known as “dry pulls,” primer puffs are the secret technique used by veteran vapers to guarantee a perfectly saturated wick. Once your tank is filled and assembled, close off the exterior airflow ring as much as possible. Without pressing the fire button, take three or four deep, sharp inhales through the mouthpiece.
By closing the airflow and inhaling, you create negative pressure (a vacuum) inside the glass tank. This vacuum forcefully sucks the e-liquid out of the glass reservoir and directly into the cotton. You will often see tiny air bubbles float to the top of the tank while doing this—this is visual proof that liquid is displacing the air inside the cotton. Caution: Do not overdo this. Taking more than five heavy dry pulls can flood the chamber, resulting in spit-back.
How Can You Break In a New Coil Using Variable Wattage?
Even after manual dripping, waiting 15 minutes, and taking primer puffs, the center core of the cotton might still have a tiny dry spot. Hitting a brand-new atomizer at 80 watts immediately is a recipe for disaster. You need to “break in” the device by gently warming the liquid, making it thinner and allowing it to flow into any remaining microscopic dry pockets.
The “Stepping Up” Wattage Technique
Look at the side of your metal coil casing. The manufacturer will have laser-etched a recommended wattage range (e.g., 60W – 80W). Follow these steps to break it in properly:
- Set your box mod at least 15 to 20 watts below the minimum recommended wattage (e.g., 40W).
- Take two short, quick puffs. The vapor will be thin, and the flavor will be weak. This is normal.
- Increase the power by 5 watts (e.g., 45W) and take two more short puffs.
- Continue increasing the power in 5-watt increments until you reach your preferred sweet spot within the recommended range.
Which E-Liquid Ratios Work Best for Fast Priming?
The thickness of your vape juice dictates how easily it absorbs. High PG (Propylene Glycol) liquids, such as a 50VG/50PG blend commonly used in pod systems, are thin and watery. They absorb rapidly and rarely require more than a 5-minute wait time. Conversely, High VG liquids (70VG/30PG or 80VG/20PG) used in sub-ohm cloud chasing are incredibly thick. If you are using a maximum VG liquid, you must be meticulously patient with your priming routine, heavily utilizing the primer puff technique to force the thick syrup into the wicking ports.
How Can You Tell If Your Coil Is Fully Primed?
There are three main indicators that your hardware is ready for standard use. First, look at the side wicking ports; the cotton should look translucent and gray, rather than opaque and bright white. Second, during your primer puffs, you should be able to faintly taste the flavor of your e-liquid on your tongue. Third, after taking a few primer puffs, air bubbles will stop rising from the wicking ports, indicating that the cotton can hold no more liquid.
What Should You Do If Your New Coil Still Tastes Burnt?
If you followed all the steps but still experience a burnt taste, stop firing immediately. The most common culprit is “vapor lock,” a situation where the vacuum inside the tank is too strong, preventing liquid from flowing. To fix this, simply unscrew the top cap of your tank for a second to break the seal, then screw it back on. You will likely see massive air bubbles rise immediately.
In rare instances, mass-produced hardware may have cotton that is packed too tightly. A professional trick is to take a sewing needle or a safety pin and gently poke one tiny hole through the exposed cotton on each side port. This creates a tiny channel for thick juice to enter, completely eliminating dry hits.
Expert Tips to Extend the Lifespan of Your Coils
- Never let your tank run dry: Refill your tank when the liquid level drops to the halfway point of the exposed wicking ports.
- Avoid chain vaping: Taking 10 deep puffs in 60 seconds dries out the cotton faster than it can re-absorb liquid. Give your device 15 seconds to rest between puffs.
- Stay within the wattage limits: Pushing a 60W atomizer to 90W will boil the liquid and burn the cotton within a few hours.
Upgrade Your Setup with Vaperoster
Proper preparation is the foundation of a fantastic vaping experience, but even the best techniques cannot fix low-quality hardware. If you are tired of inconsistent flavor and burnt wicks, it is time to upgrade. Browse our premium selection of authentic replacement coils, sub-ohm tanks, and state-of-the-art pod systems at Vaperoster.com. Our curated inventory guarantees maximum flavor and longevity for every puff.
Frequently Asked Questions (FAQ) About Coil Preparation
Can I use water to prime my coil?
Absolutely not. Introducing tap water or distilled water into your tank will ruin the e-liquid, cause severe spitting and popping when heated, and potentially rust the internal metal components.
Why is my newly primed vape spitting liquid into my mouth?
Spit-back occurs when the cotton is oversaturated and liquid pools in the center chamber. This usually happens if you drip too much liquid directly down the center hole or take too many primer puffs. To fix this, wrap a tissue around the airflow vents and blow sharply into the mouthpiece to clear the excess juice.
Do I need to prime disposable vapes?
No. Disposable vapes come pre-filled and pre-steeped from the factory. The internal wicking material has been soaking in liquid for weeks or months before you open the package, making them ready to use the second you pull them out of the box.
How many drops of e-liquid should I use for priming?
For standard sub-ohm devices, 3 to 5 drops down the top center, and 1 drop on each side port is sufficient. Applying more than this risks flooding the base of the tank.