
To clean sticky vape juice off internal device components safely, you must first power down the device and remove the batteries. Use a high-concentration (90%+) isopropyl alcohol applied lightly to a cotton swab or microfiber cloth—never pour liquids directly onto the device. Gently scrub affected areas like the 510 connector, battery terminals, and airflow sensors to dissolve the vegetable glycerin and sweetener buildup. Allow all internal components to air-dry completely in a well-ventilated space for at least 24 hours before reassembling and firing the device.
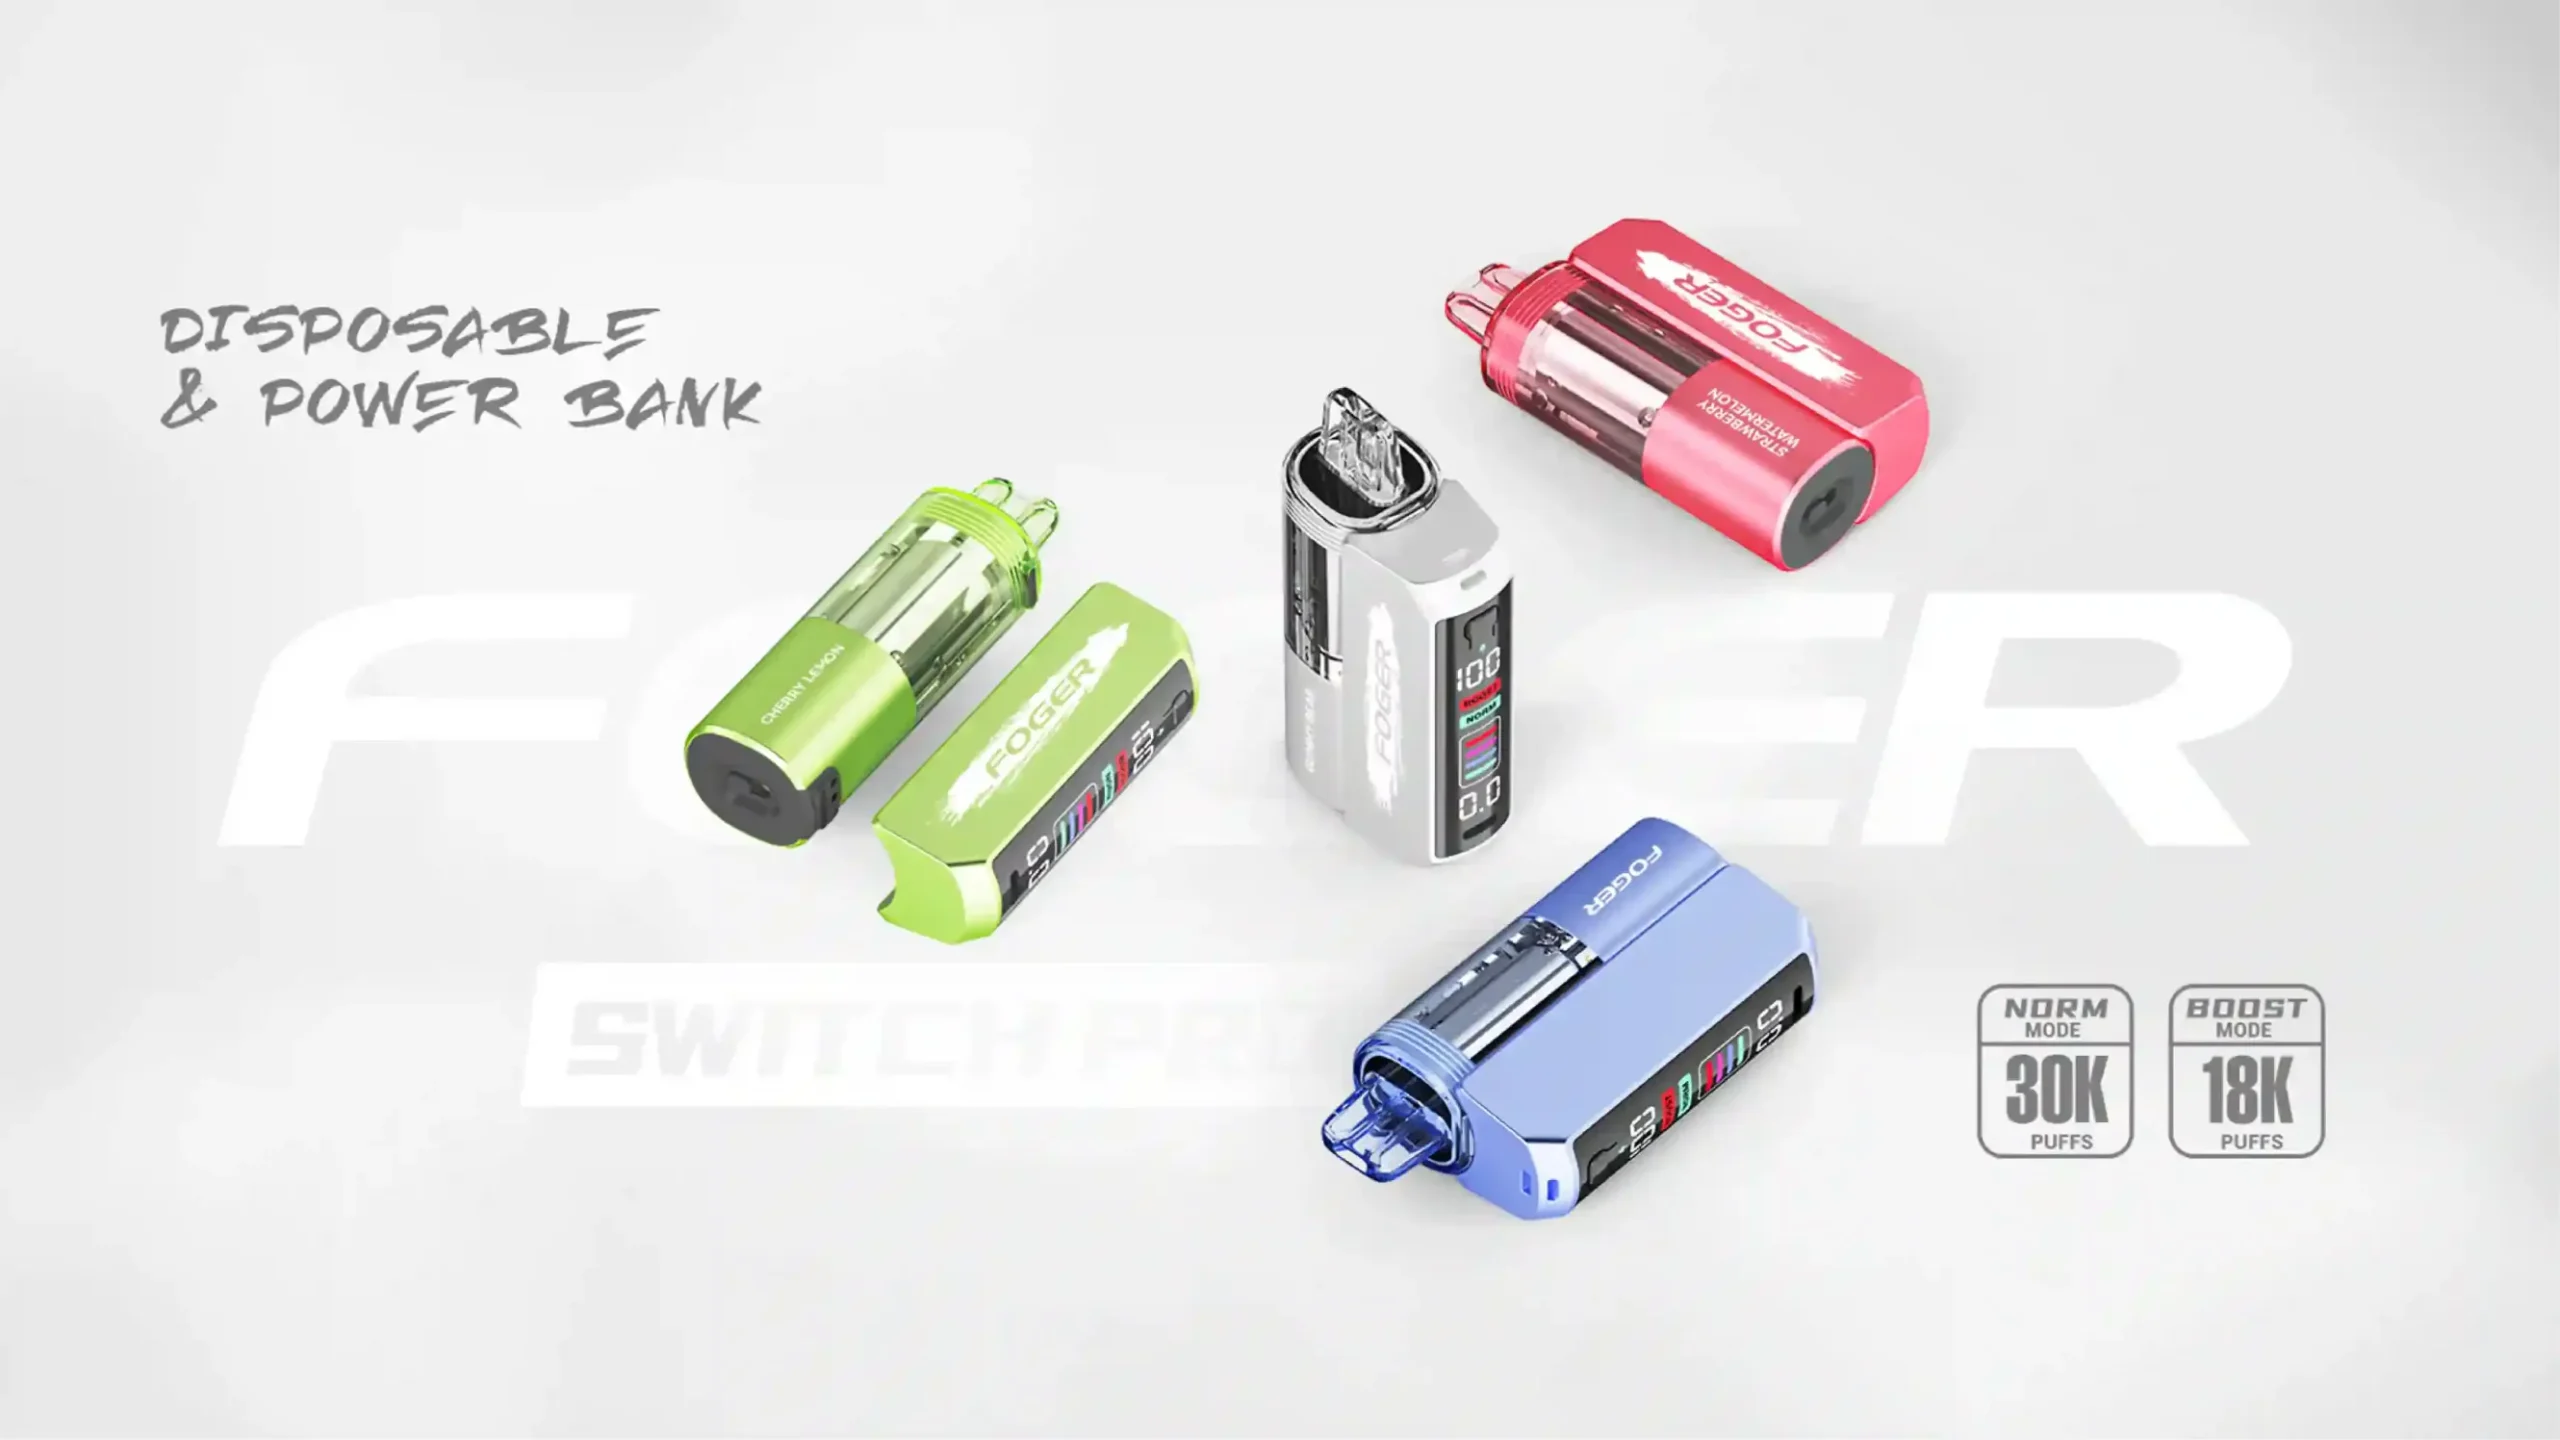
As an e-cigarette technician and senior editor at VapeRoster.com, I have disassembled and repaired hundreds of vape mods and pod systems. The number one cause of premature device failure isn’t dropping the mod—it’s e-liquid seeping into the internal electronics. Below is the ultimate, editor-approved guide to safely removing sticky e-juice from your device’s most sensitive internal parts without causing a short circuit.
Why Does Vape Juice Leak and Become Sticky Inside Your Device?
Vape juice is designed to be vaporized, but changes in temperature, cabin pressure, or degrading coil seals can push raw liquid down into the housing of your mod. Once inside, the e-liquid sits in confined, warm spaces. Over time, the thinner elements evaporate, leaving behind a highly viscous, syrup-like residue that clings to circuit boards, battery contacts, and wires.
If you have noticed your fire button sticking, the screen flickering, or the device auto-firing, you are likely dealing with internal e-liquid seepage. Addressing this immediately is crucial for both device longevity and battery safety.
What Ingredients in E-Liquid Cause That Stubborn Residue?
Not all e-liquids leave the same mess. The stickiness you feel inside a compromised vape mod is directly tied to the chemical composition of the juice you are running. Understanding what you are cleaning helps you choose the right solvent.
- Vegetable Glycerin (VG): This base ingredient is inherently thick and sticky. When exposed to air over long periods, it acts almost like a mild adhesive, binding dust and pocket lint to your internal electronics.
- Artificial Sweeteners (Sucralose): Sweeteners do not evaporate cleanly. They leave behind a crystallized, caramelized residue that is notoriously difficult to scrape off delicate microchips.
- Flavoring Concentrates: Certain flavorings, particularly rich desserts and citrus blends, contain acidic compounds that can slowly degrade the protective coating on internal copper wiring if left uncleaned.
What Are the Risks of Leaving E-Liquid on Internal Components?
Ignoring a sticky internal leak is a recipe for disaster. E-liquid is slightly conductive, especially when mixed with the metallic dust and dirt it inevitably attracts. If this sticky sludge bridges the gap between two solder points on your motherboard, it will cause a soft short.
Soft shorts lead to auto-firing—where the device activates without you pressing the button. In devices powered by external 18650 or 21700 lithium-ion batteries, a continuous auto-fire can lead to thermal runaway, venting, and catastrophic failure. Furthermore, e-liquid on the 510 pin disrupts the resistance reading, causing your mod to output the wrong wattage and burn your coils.
What Essential Tools Do You Need for Safe Internal Cleaning?
Before you crack open your device or start scrubbing the contacts, you need to prepare the right equipment. Using household water or improper tools will instantly ruin your device.
- 99% Isopropyl Alcohol (Rubbing Alcohol): Do not use anything lower than 90%. High-percentage isopropyl evaporates rapidly and leaves zero moisture behind, making it safe for electronics.
- Precision Cotton Swabs: Look for tightly wound, pointed cotton swabs used in cosmetics or electronics repair. Standard Q-tips tend to leave cotton fibers snagged on sharp solder joints.
- Microfiber Cloths: Essential for wiping down larger internal panels without generating static electricity.
- Precision Screwdriver Set: If you need to remove the chassis, you will likely need Torx (T5/T6) or tiny Phillips head drivers.
- Non-Conductive Tweezers: Ceramic or plastic tweezers help remove debris without risking a static discharge to the motherboard.
How Can You Safely Prep Your Vape Device Before Cleaning?
Preparation is non-negotiable when dealing with electronics. Never attempt to clean a vape device while it has power running through it.
First, turn off the device entirely. If your mod takes external batteries, remove them immediately and set them aside in a silicone protective case. If you are using a device with an internal battery, power it down and double-check that the screen is completely dead. Next, remove the tank or pod. Empty any remaining juice from the tank, wash it separately, and set it on a paper towel. You want the mod completely isolated before any alcohol touches it.
How to Clean Sticky Vape Juice Off the 510 Connector?
The 510 connector is the threaded metal plate where your tank screws in. It features a spring-loaded center pin that reads the electrical current. This is the most common entry point for leaking e-liquid.
Take your precision cotton swab and dip it lightly into the isopropyl alcohol. Shake off any excess—the swab should be damp, not dripping. Gently press the swab against the gold-plated center pin and twist. Push down slightly to work the alcohol into the edges of the spring mechanism. You may need to use multiple swabs until they come away completely clean. Once done, press the pin up and down with a dry tool a few times to ensure the spring action is smooth and no longer sticking.
Which Cleaning Solvents Are Safe for Electrical Contacts?
Using the wrong solvent can strip the gold plating off your battery contacts or melt the plastic housing of your mod. Here is a breakdown of what to use and what to avoid.
| Solvent Type | Safety for Electronics | Effectiveness on E-Juice | Editor Recommendation |
|---|---|---|---|
| 99% Isopropyl Alcohol | Extremely Safe | Excellent (Dissolves VG/PG) | Highly Recommended. Evaporates quickly. |
| Electronic Contact Cleaner | Extremely Safe | Good | Great for tight crevices, but use sparingly. |
| Water (Tap or Distilled) | Highly Dangerous | Poor | Never Use. Causes rust and fatal short circuits. |
| Acetone / Nail Polish Remover | Dangerous | Excellent | Avoid. Will melt plastic internal housings instantly. |
How Do You Clean E-Liquid Out of Airflow Sensors (Draw-Activated Vapes)?
If you use a draw-activated pod system and it has stopped hitting when you inhale, sticky juice has likely clogged the internal microphone sensor. These sensors are incredibly fragile.
Do not poke a needle or a wet cotton swab directly into the tiny sensor hole. Instead, take a dry microfiber cloth and wrap it tightly around your finger. Press it firmly against the sensor opening to wick away surface moisture. Then, place your mouth over the charging port (or airflow intake) at the bottom of the device and blow a short, sharp burst of air through the device. This will force the trapped e-liquid up and out of the sensor pathway onto a paper towel held at the top.
Tired of Leaky Devices?
Stop wasting time cleaning up sticky messes. Upgrade to a modern, top-airflow, leak-resistant system today. Check out our curated selection of the best leak-proof vape mods on VapeRoster and enjoy a hassle-free vaping experience.
Can You Rescue a Vape Battery That Has E-Liquid Inside the Casing?
If you remove your 18650 battery and notice it is covered in sticky juice, you must proceed with extreme caution. E-liquid trapped under the PVC battery wrap can slowly corrode the metal cylinder.
Dampen a cloth with isopropyl alcohol and wipe the exterior of the battery clean. Inspect the PVC wrap carefully. If the juice has seeped underneath the wrap, especially near the positive terminal ring, you must stop using the battery immediately. You will need to carefully peel off the old wrap, clean the bare metal cell with alcohol, let it dry, and apply a brand-new heat-shrink PVC wrap. If you are not comfortable re-wrapping batteries, recycle the cell and buy a new one. Never risk a battery venting.
How to Clean a Vape Mod’s Circuit Board Safely? (Advanced)
If a massive tank dump has flooded the internals, superficial cleaning won’t cut it. You will have to open the chassis. This voids your warranty, so only proceed if the device is already malfunctioning.
Once you remove the outer shell, locate the main printed circuit board (PCB). You will likely see pools of sticky liquid bridging the microchips. Use a clean, soft-bristled toothbrush lightly dipped in 99% isopropyl alcohol. Hold the mod at an angle so gravity pulls the liquid away from the screen. Gently scrub the PCB in a circular motion. The alcohol will break down the VG and sweeteners, lifting them off the board. Follow up immediately by dabbing the area with a dry, lint-free cloth.
When Should You Avoid Opening Your Vape Mod?
There are specific scenarios where opening a mod to clean it is more dangerous than replacing it.
- Internal Li-Po Batteries: If your device features a built-in battery pack (like many pod mods) that is glued to the chassis or motherboard, do not pry it apart. Puncturing a Li-Po pouch will cause an immediate chemical fire.
- Waterproofing Seals: IP67 and IP68 rated mods (waterproof and dustproof) are sealed with industrial glue and rubber gaskets. Opening them destroys the waterproof rating permanently.
- Swollen Chassis: If the mod case looks bloated or the buttons are bulging outward, the battery has already failed and expanded. Put the device in a fire-safe container and take it to an e-waste facility.
How to Clean Sticky E-Juice from the Pod Housing and Magnet Contacts?
Pod system users frequently deal with sticky buildup in the magnetic housing well. When juice covers the gold-plated pogo pins inside the mod, the device will flash a “No Atomizer” or “Check Pod” error.
Take a precision cotton swab damp with rubbing alcohol and thoroughly scrub the magnetic rings and the gold pins. Be sure to press down on the pins to ensure they spring back up smoothly. E-liquid loves to dry inside the spring mechanism, cementing the pins down so they can’t touch the replacement pods. Wipe down the interior walls of the pod well, as lingering juice will eventually slide back down onto the pins.
What Are the Best Methods for Drying Internal Vape Components?
Cleaning is only half the battle; drying is just as critical. Even though high-percentage alcohol evaporates quickly, you must guarantee no liquid remains in the microscopic crevices of the circuit board before introducing electrical current.
Place the disassembled components on a clean, dry paper towel in a well-ventilated area. Point a small desk fan at the parts to keep air circulating over them. Allow them to sit for an absolute minimum of 24 hours. Resist the urge to reassemble the vape early. Do not use a hairdryer on a hot setting, as extreme heat can desolder tiny components or melt plastic casings.
Which Cleaning Methods Should You Absolutely Avoid?
I have seen countless vapers destroy their hardware by listening to bad advice on forums. Here is what you must never do when dealing with sticky internals:
- Never use water on internal components. Water contains minerals that conduct electricity and cause corrosion.
- Never submerge the mod in rice. Rice dust will get trapped in the fire button mechanism, the 510 threads, and the charging port, causing permanent physical damage.
- Never use an air compressor. High-PSI compressed air can literally blow microchips clean off the motherboard and sever delicate wiring. Canned air for keyboards is acceptable if used from a distance.
- Never use WD-40. It is a solvent meant for heavy machinery, not delicate electronics, and it is highly toxic if vaporized and inhaled.
How Can You Prevent Vape Juice from Leaking Internally in the Future?
The best way to clean internal vape components is to never have to do it in the first place. You can drastically reduce your chances of internal leaks by adopting a few preventative maintenance habits.
Keep your device standing upright when not in use. Laying a vape on its side allows juice to bypass the wicking ports and flood the airflow channel. Secondly, check your O-rings every time you change a coil; a pinched or torn silicone ring is the primary cause of sudden tank dumps. Finally, avoid leaving your vape in a hot car. Heat thins out premium vape juice, turning a thick 70VG/30PG blend into a watery liquid that will slip straight past the seals and into your mod.
Frequently Asked Questions (FAQ) About Vape Device Maintenance
Q: Will cleaning my vape with rubbing alcohol leave a bad taste?
A: Not if you let it dry completely. 99% isopropyl alcohol evaporates entirely without leaving a residue. Just ensure you are cleaning the *mod*, not soaking the coil you intend to vape.
Q: Why is my fire button sticky, and can I fix it without opening the mod?
A: A sticky button is usually caused by dried e-liquid. You can sometimes fix it by applying a drop of isopropyl alcohol around the edge of the button and clicking it rapidly to work the alcohol into the mechanism, then wiping it dry. However, opening the device is the only way to clean it thoroughly.
Q: How often should I clean the 510 connection?
A: You should wipe down the 510 connection with a dry tissue every time you remove the tank, and do a deeper clean with alcohol once every two weeks to ensure optimal conductivity.
Keep Your Vape Running Like New with VapeRoster
Regular maintenance is key, but sometimes a device is just too far gone. If your current mod is damaged beyond repair from internal leaks, it’s time to upgrade. Browse our top-rated selection of durable, water-resistant, and leak-proof devices.
Shop the Best Vapes at VapeRoster Today
E-E-A-T & Author Trust Module
About the Author: James is a senior hardware editor and lead technician at VapeRoster.com with over a decade of hands-on experience in the vaping industry. Specializing in device teardowns, battery safety, and micro-soldering, he has diagnosed and repaired thousands of vaping devices. This guide was created using industry-standard electronics maintenance protocols to ensure the safety and longevity of your hardware.
Schema Markup (For Webmasters)
Note: Webmaster, please inject this JSON-LD schema into the section of the article page to secure rich snippets for FAQ and How-To search results.